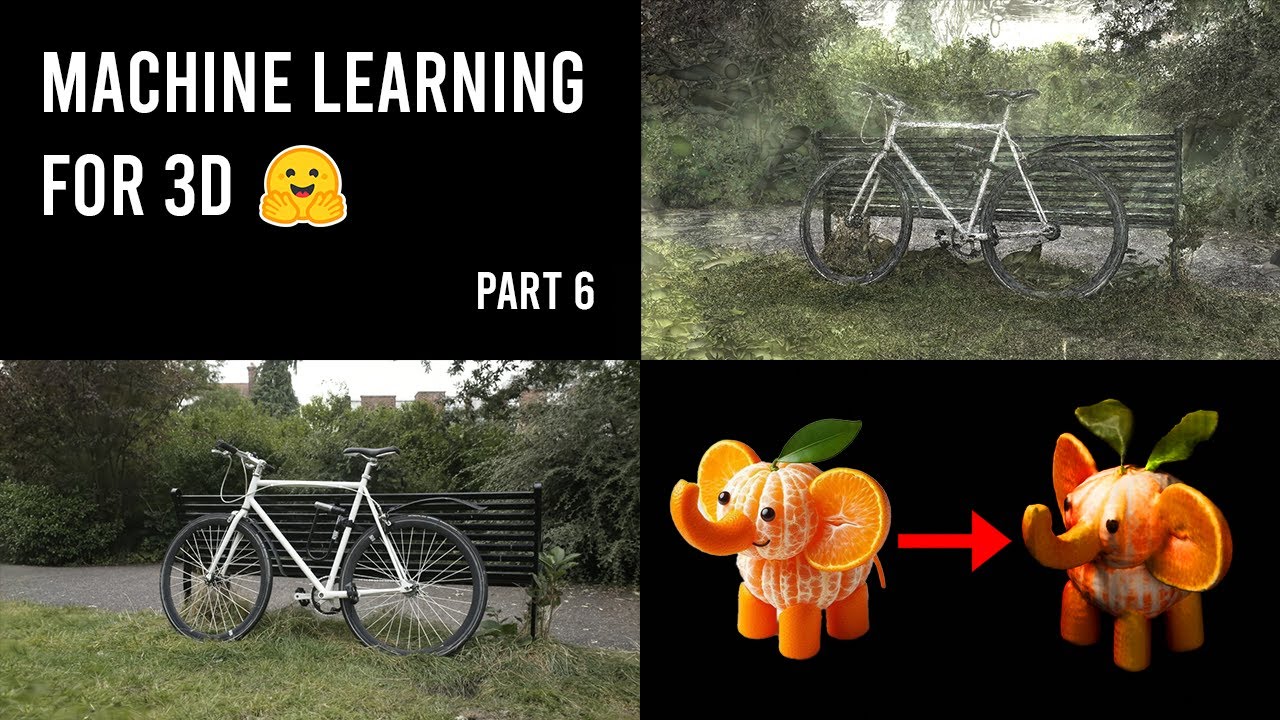
In the final unit of the Machine Learning for 3D course, participants are guided through the process of creating their generative 3D demo by hosting their model and space, and filling out a form for verification to receive a certificate. Detailed step-by-step instructions are provided to set up the LGTM-based demo, including duplicating the Hugging Face repo, generating an API token, and making necessary edits to prepare the demo for deployment, with various options for running the demo based on participants’ resources.
In the final unit of the Machine Learning for 3D course, participants are tasked with building their own generative 3D demo by following a series of steps. The first step involves hosting a model, which can either be self-built or copied from an open-source model, with the requirement of having a model card with the “image to 3D pipeline” tag. The second step is to host one’s own space that converts images to meshes or splats, with a readme containing a link to the model. After completing these steps, participants are required to fill out a form with links to their model and space for manual verification to receive a certificate.
To assist participants in setting up their LGTM-based demo, a step-by-step guide is provided. This involves going to the Hugging Face repo duplicator, generating an API token in the user’s account settings, and then entering the necessary information in the source and destination repo fields. This process allows users to quickly set up their model for hosting. Additionally, participants are directed to the LGTM tiny space where they can duplicate the space, choose free hardware, and make necessary edits to the app.py file by replacing model paths with their own. These steps are essential for preparing the demo for deployment.
Participants are informed that running the demo requires a GPU and are given multiple options to do so. They can run the demo in a cloud-based environment through the provided notebook link, run it locally with a decent GPU, apply for a community GPU grant for interesting projects, or choose to run the demo via API for focusing on UI/UX and downstream applications. Detailed instructions for each option are available in the notebook for participants to follow based on their preferences and resources.
Upon successfully completing the ML for 3D course and setting up their generative 3D demo, participants are congratulated for reaching the intersection of machine learning and 3D. They are encouraged to dive deeper into related topics by exploring open-source projects like Instant Mesh. The video emphasizes the rapidly evolving nature of machine learning and 3D technologies, encouraging participants to stay updated on advancements in the field. Overall, the course provides a high-level overview of these emerging technologies and offers practical guidance for participants to develop their skills in this innovative domain. Participants are thanked for their participation in the ML for 3D course and are urged to watch out for further information and updates in this exciting field.
